DIY Ice Cream Party Headband: I Scream, You Scream, June is Turning FIVE! (Part 2)
Hi guys!! Are you ready for Part 2 of our #IceCreamPartyDIY? Today, we are making the birthday girl her crown. Every princess must have one, doesn't she? But this one is pretty AWESOME.
Also see her wearing it on her actual birthday HERE.
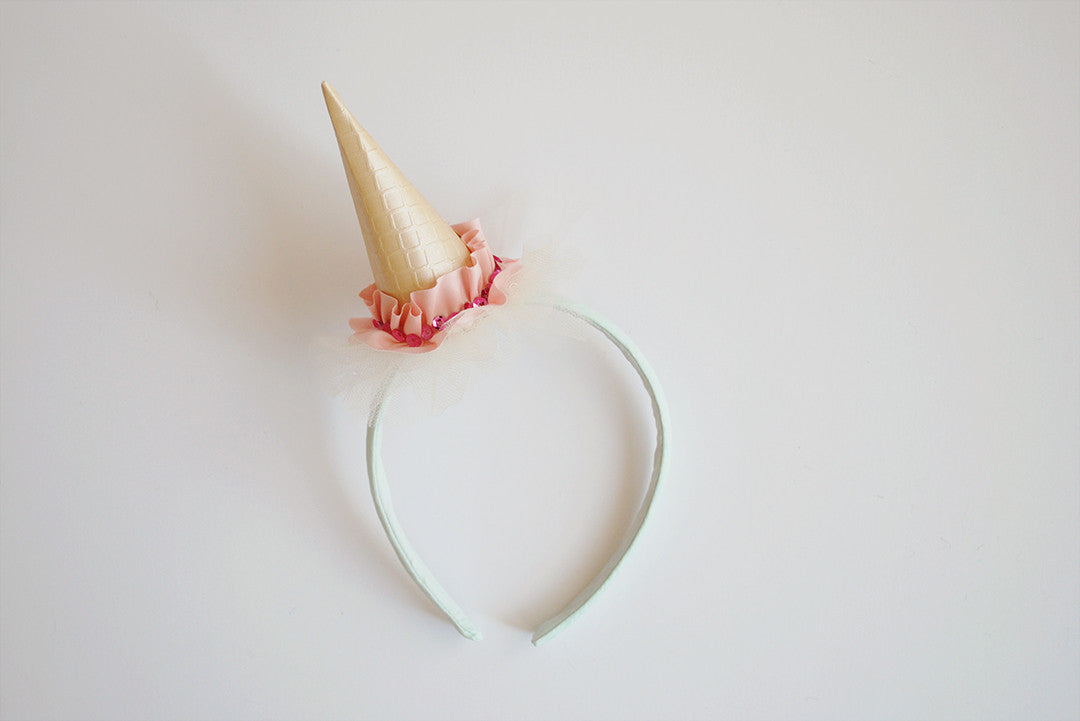
Birthday DIY #2: Upside Down Ice Cream Party Hat/Headband

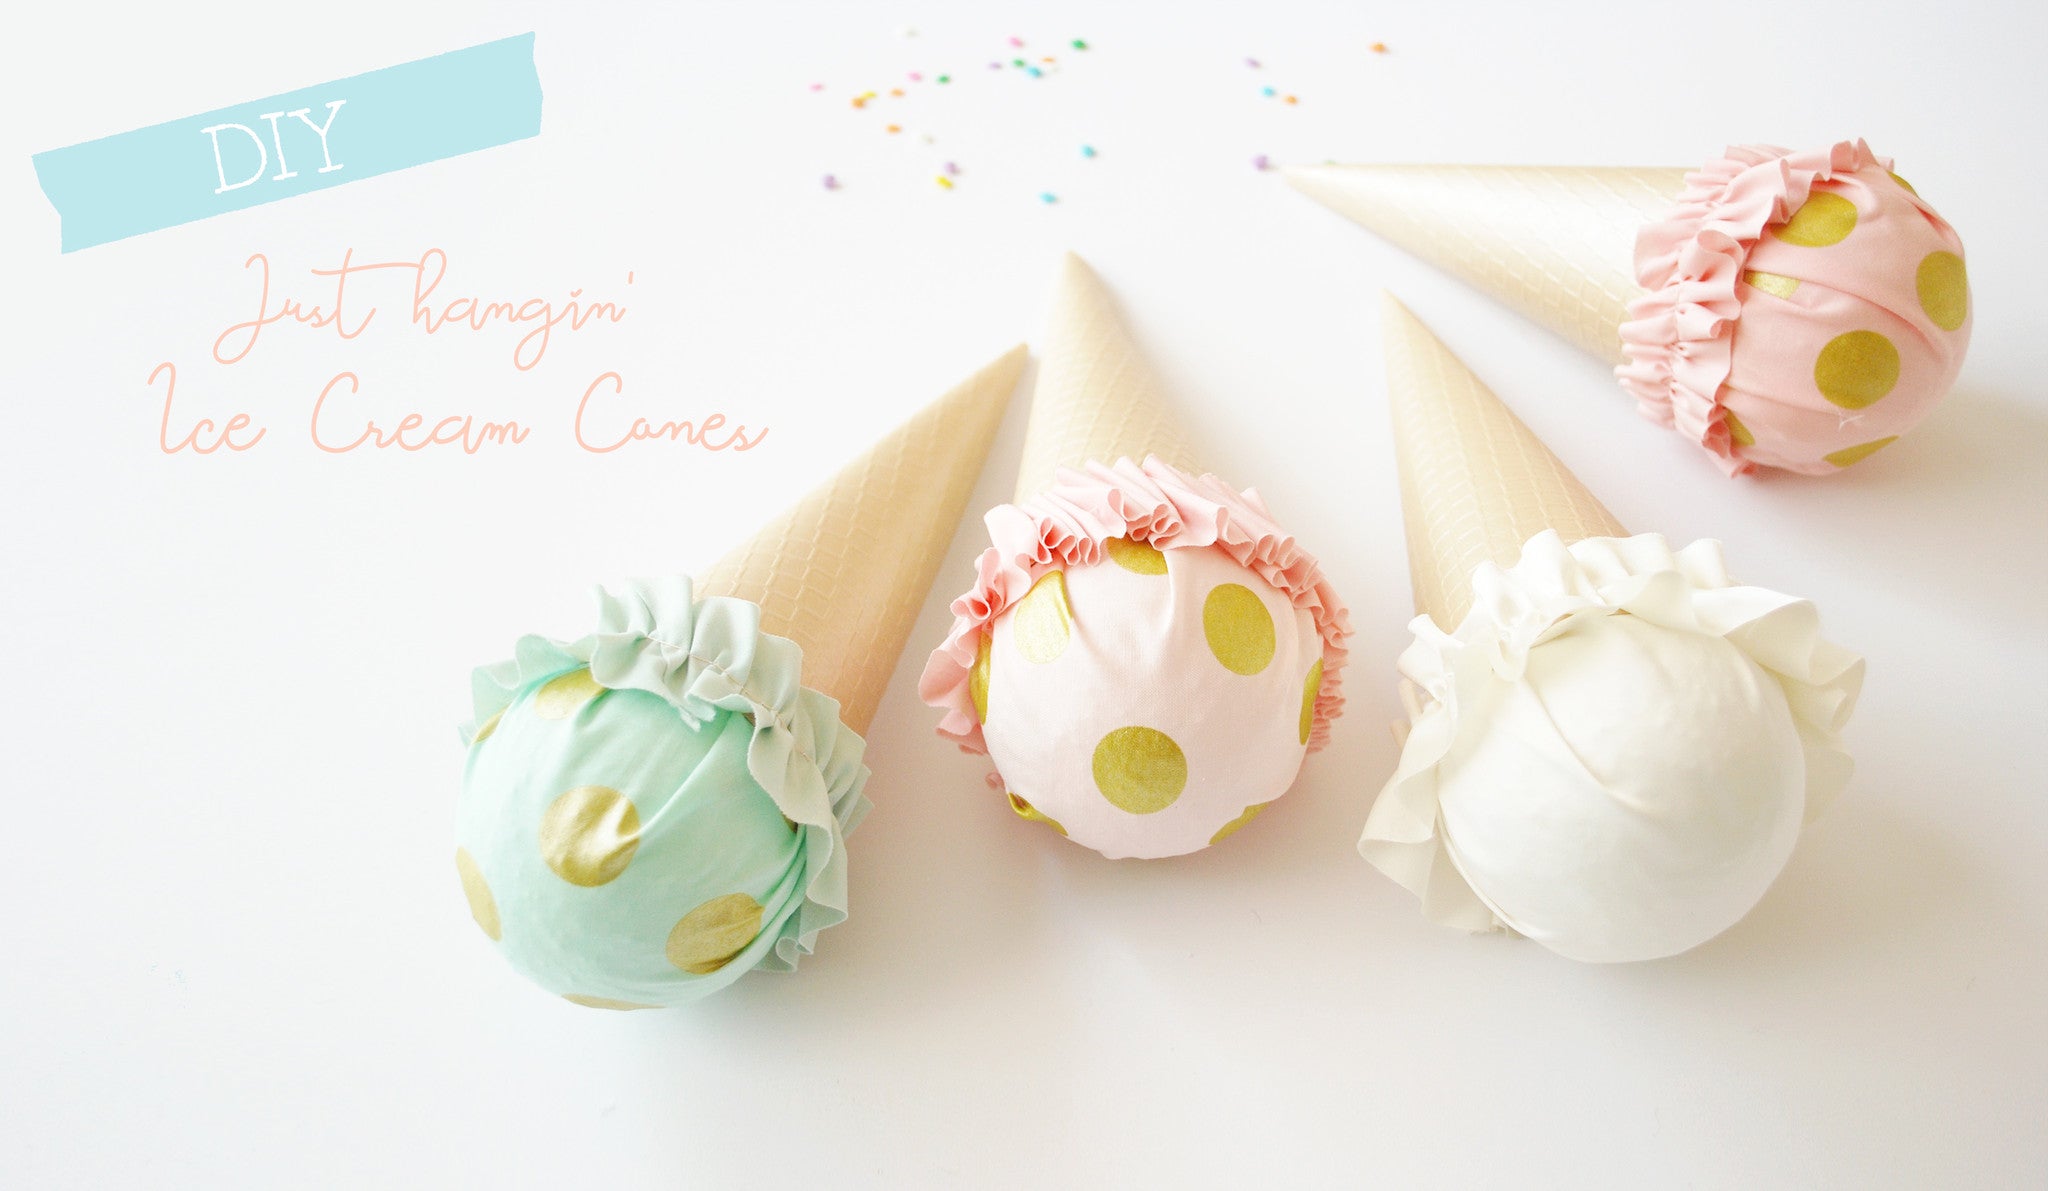
This was seriously A LOT of fun to make, especially if you have already been making the Just Hangin' Ice Cream Cones, this is simply a tinier scale of that.
Project Time: 20-30 mins
Best for Ages: 3.5+
Supplies List:
• 1 headband base - you can get these from the dollar store, or take an old plain headband your little one doesn't use anymore.
• paper: 1 heavier stock paper for the cone
• bias tape (premade) or make your own fabric strip the circumference of your cone (ours is about 6" long before ruffling), and also one strip enough to be made into a casing for the headband.
• tulle strip, also ruffled (optional-- you can now find pre-gathered trim at the local fabric store, if you don't want to go through the trouble of gathering)
• hot glue gun
• scissors (paper + fabric)
• pencil + eraser
• ruler
• any embellishment you so desire (June happened to have some sequins around, so we just HAD to glue them on, obviously ; p)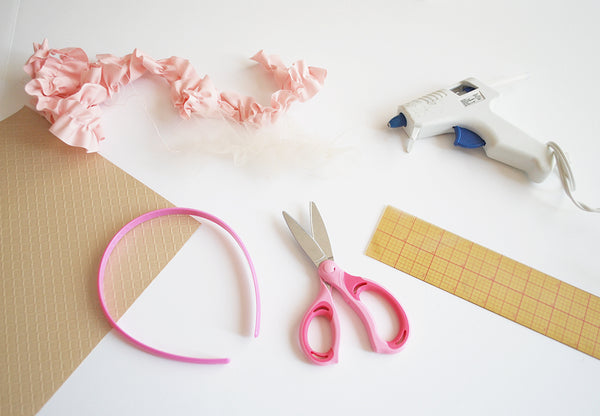
Step 1: Sketch and cut out a semi-circle out of ice cream cone paper. Then, using hot glue gun, create the cone.
June's ice cream party hat cone was approximately 4" tall, so your radius for the semi-circle will be 4". Please follow the Hanging Ice Cream Cones project (DIY #2, above) for more detailed instructions on how to get the semi-circle.
Step 2: Glue gathered fabric strip(s) (or ruffled trim) onto the base of the cone. Then draw and cut out a circle* 4" in diameter to be the base of the cone. Hot glue base to the cone.
*This serves as a nice surface area where the headband will be attached.
Step 4: If a specific headband base color is desired, fold a strip of fabric in half (or use double folded bias tape), sew a narrow casing the length of the headband base and insert. Hot glue closed the ends.
Step 5: Embellish as desired.
June wasn't sure what she thought of the tulle bottom ruffle until she realized she was playing with some sequins - so those went onto her party hat cone. :)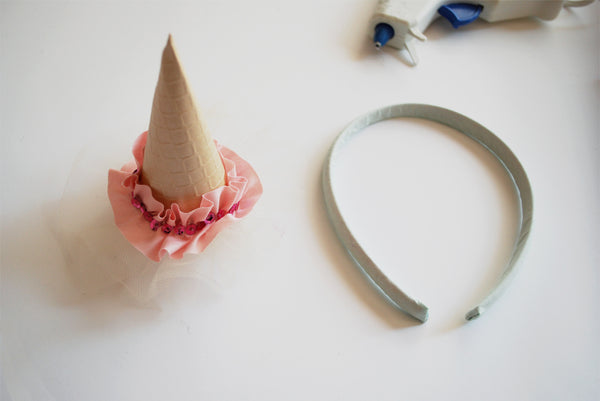
Step 6: Hot glue finished ice cream cone to the headband. Enjoy!
Can't wait to have June wear it for her birthday party! Photos to come!
We would love to see what you make! Be sure to #EleStoryDIY so we get to see what you're all making!
Read more
DIY (Hangin') Ice Cream Cone Decoration: I Scream, You Scream, June is Turning FIVE! (Part 1)
I can hardly believe it -- my baby June is about to turn 5. I totally want to scream...out of joy, of course! :D For her birthday this year, I wanted a simple, intimate, yet fun birthday party t...
Read moreDIY Cake Topper: I Scream, You Scream, June is turning FIVE! (PART 3)
Oh my - I think I may need to write a book on Party DIY's. They're so much fun! (Not joking or being sarcastic). If you've been following, I've been writing and making my little girl June's #IceC...
Read more
Leave a comment
This site is protected by reCAPTCHA and the Google Privacy Policy and Terms of Service apply.