DIY (Hangin') Ice Cream Cone Decoration: I Scream, You Scream, June is Turning FIVE! (Part 1)
I can hardly believe it -- my baby June is about to turn 5. I totally want to scream...out of joy, of course! :D For her birthday this year, I wanted a simple, intimate, yet fun birthday party to celebrate her.
Coming up with the idea was the hard part. First, I solicited advice from some of you mama's out there (which were so awesome by the way!), and then went on good ol' Pinterest for more inspiration. I came across pin upon pin of delicious ice cream themed sweets. They looked so beautiful, colorful, and simple, that I decided to go with the ice cream theme. Plus, June bug LOVES ice cream. It's almost a no-brainer.
In the spirit of keeping things "Simple", and yet meaningful, and really, fun for BOTH of us (June and me of course), I've come up with some cool ice cream themed DIY's for any party you might be thinking of planning -- baby shower, bridal shower, you name it. I might actually borrow these for the next baby shower I'm planning for a friend. ;)
SO - for the next several weeks leading up to her birthday, I'm going to be posting a NEW DIY weekly, so that you can be in on the action and seeing how far along I am getting with this party prep. :) Also it's less overwhelming for all of us. So--shall we get (ice) screamin'?!
xoxo,
Judy
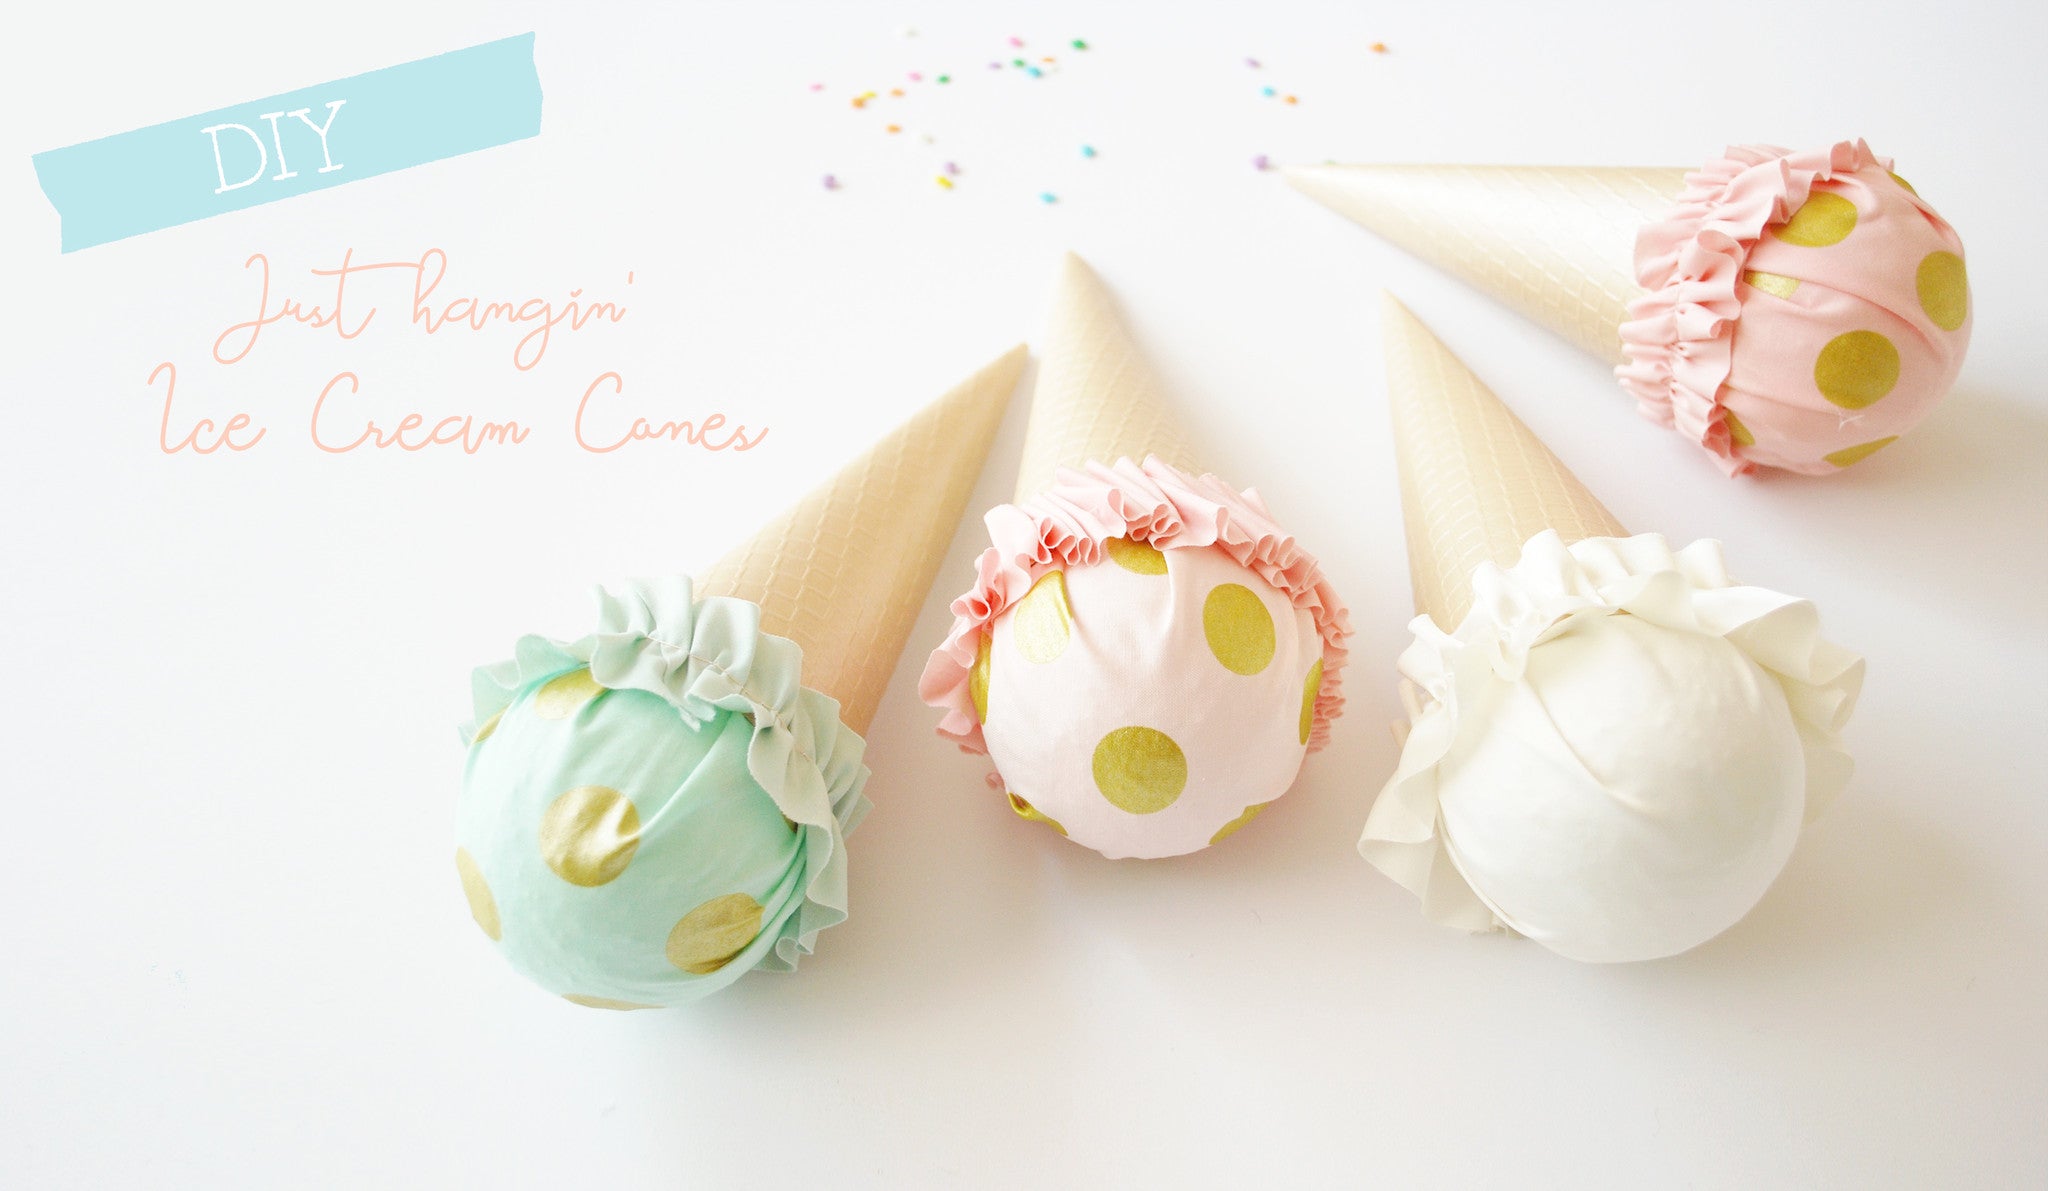
Birthday DIY #1: Just Hangin' (or not) Ice Cream Cones
June and I literally spent a couple of hours this past Saturday morning just making these "pretend" Ice Cream Cones. She saw that Mommy had a bunch of pretty supplies sitting out and kept asking, "I want to do a project with you, Mama!" (She is a huge fan of arts and crafts, so almost every other weekend I have to come up with a "project" for her and me to do, and this was perfect). She loved making them and pretending they were real ice cream cones.
Project Time: 30-40 minutes for 3 cones, and about 10-15 min per cone, once all supplies are prepped and you've warmed up.
Best for Ages: 4.5+
Because this project involves a lot of hot-gluing (I found that it is most secure, adult involvement is definitely a must. I did all the hot-gluing, but June got to feel very involved by tracing, cutting, and helping me tie knots, etc.
Supplies List:
• three 3" foam balls (for three cones, more if you want to make more!)
• paper: textured cardstock for cones (12" x 12" sheets - I got these from Michael's Arts and Crafts and they came in a pack of 5)
• fabrics (about 8" x 8" to cover each foam ball)
• contrast fabrics for ice cream cone "ruffles" (can also substitute with ruffled ribbons you can find at a fabric store
• 3 ribbons, 12" long each (if you plan on hanging these cones)
• 3 pearlized pins (if you plan on hanging these cones)
• glue gun
• string
• needle & thread, or sewing machine if you have one
• scissors (fabric and paper)
• ruler (not shown here, optional)
• pencil + eraser
Step 1: Fold card stock in half, diagonally into a triangle. Using ruler (or eye it), mark an 8" semi-circle. Cut out. Set aside.
June had fun doing this. And taking a picture of me too with the SLR. :) 
Step 2: Wrap fabric tightly around foam ball, pulling and flattening out major wrinkles as you go. Hold the base tightly, and tie a string around it.
Don't be too perfect here, the bottom half will be covered up by the cone anyway. June held the ice cream ball while I tied the first string on, then she insisted on finishing. Be sure to tie a few knots!

Step 3: Cut off the ends with fabric scissors. Set aside.
Step 4: Take cone paper cut out from Step 1, heat up glue gun, and roll into a cone shape. Then glue together.
If the paper is stiff, you may want to mark where the cone should overlap. Then quickly glue with glue gun. This is definitely an adult job, and will take a little practice.

Step 5: Hot glue ice cream ball to cone!
Put hot glue around the inside edge of the cone, and have little one stick the ice cream ball in. Push in and voila!
Step 6 (optional): Add ruffles!
If you want to add some ruffled edge to the ice cream cone, take your contrast fabric and cut into an 1" strip about 8" long (you will need to adjust this depending on the size of your cone). Then, with needle & thread, or a sewing machine on a basting stitch, use a running stitch (wide gathering stitch) in and out of the fabric strip. Gather the fabric.

Alternatively, take bias tape pre-cut, or any ruffled trim you find at the fabric store, and glue on the edge with glue gun!
Step 7: Tie a knot in the ribbon, insert pin through the head of the cone, and you have a hanging cone!
And there you have it! Stay tuned for more June's birthday Party DIY ideas, in the next week and two!! I have lots - just need to make them all happen on this blog! : )
We would love to see YOUR ice cream cones! Be sure to share with us by #EleStoryDIY for a chance to be featured! Enjoy admiring these desserts, everyone!


Leave a comment
This site is protected by hCaptcha and the hCaptcha Privacy Policy and Terms of Service apply.