
DIY Napkin Decorated Easter Eggs!

Easter is just around the corner and if you haven't figured out just what to do with your little ones yet, we have just the activity for you. This is one of my favorite ways to decorate eggs, and surprisingly, it's so easy! You may have everything you need already at home.
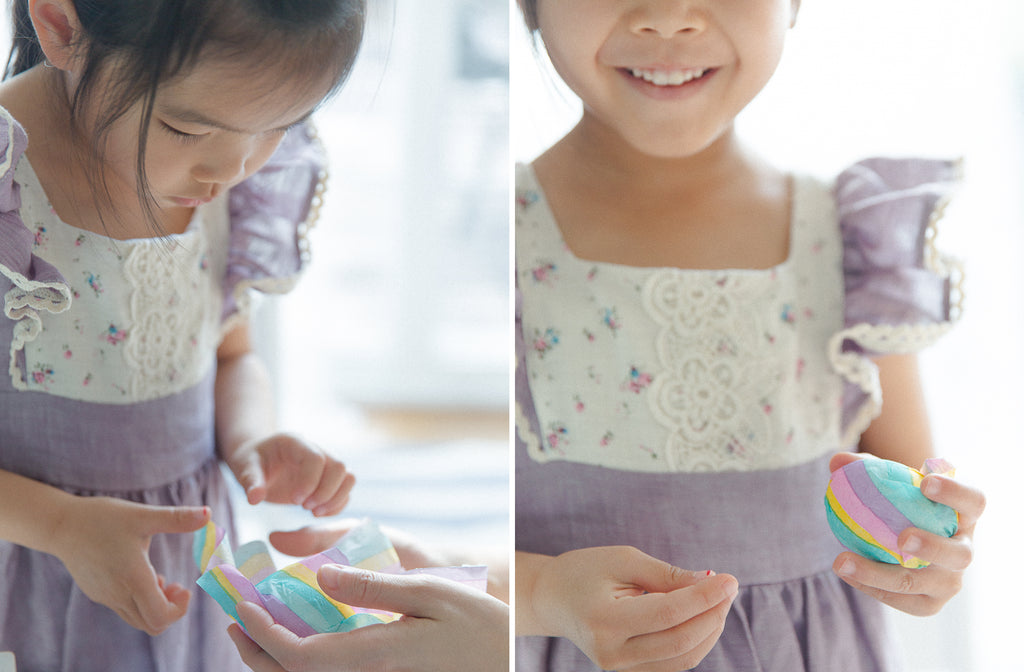
Being my daughter, June always likes to dress up when we do activities together, and she wore one of her favorites - our Lavender Flutter dress. This DIY was like magic, look how happy she was!
Napkin Decorated Easter Eggs
Project Time: 30 mins
Best for Ages: 3.5+
Supplies:
- Scissor (remember to use safety scissors for the little ones)
- Decorative Paper Napkins
- 1 Egg White
- Paint or sponge brush
- Boiled eggs or Decorative plastic eggs
 We purchased a few kinds of very inexpensive napkins with fun designs, this one was our favorite. Carefully peel the layers right above the white layer. We'll be using the printed layer to decorate the eggs. June bug was able to do this on her own pretty well. Look how focused she was!


Step 3: Wrap your egg with your napkin


 As always, tag #EleStoryDIY to share photos of your napkin eggs!
Read more
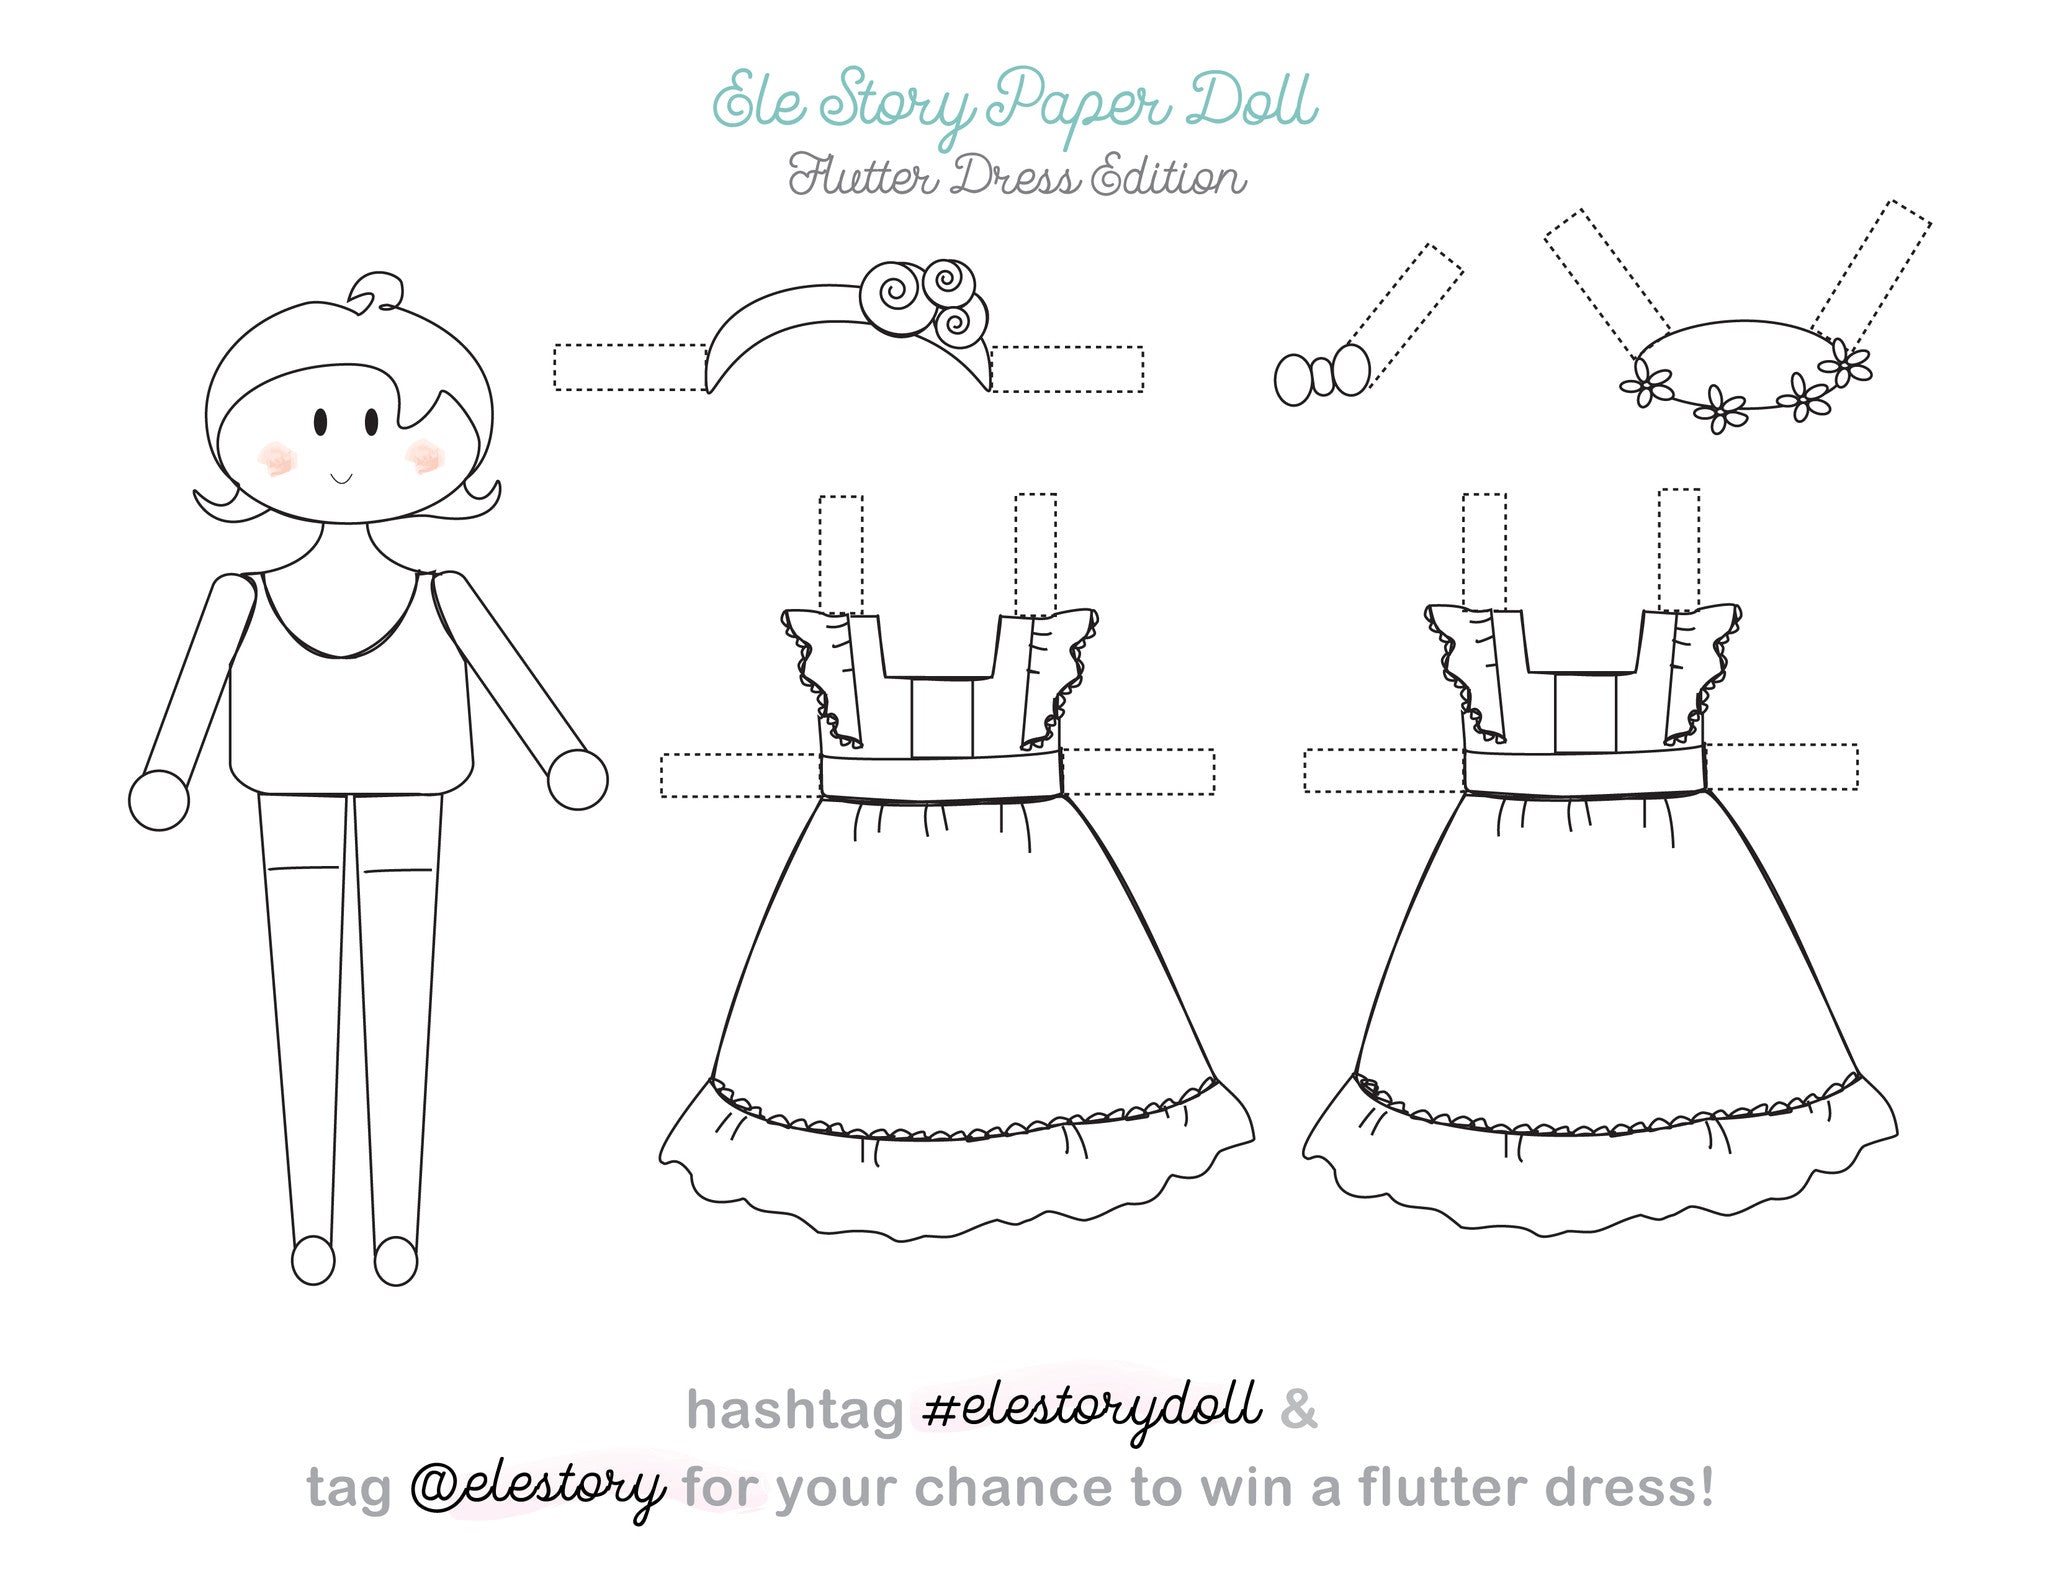
Ele Story Paper Doll Coloring Contest
Remember when we were little and these paper dolls were all the craze? Okay, I'm probably dating myself by sharing this, but my daughter and I love paper dress dolls! I thought I'd make her these ...
Read more
Hi everyone - I am so excited to be able to share the process of what every Ele Story piece goes through from design conception to finish. Enjoy! xoxo,Judy The Handmade Story from Ele Stor...
Read more
Leave a comment
This site is protected by hCaptcha and the hCaptcha Privacy Policy and Terms of Service apply.